Lutherie
CATARINA VEIGA LUTHIER > Lutherie
ATELIER
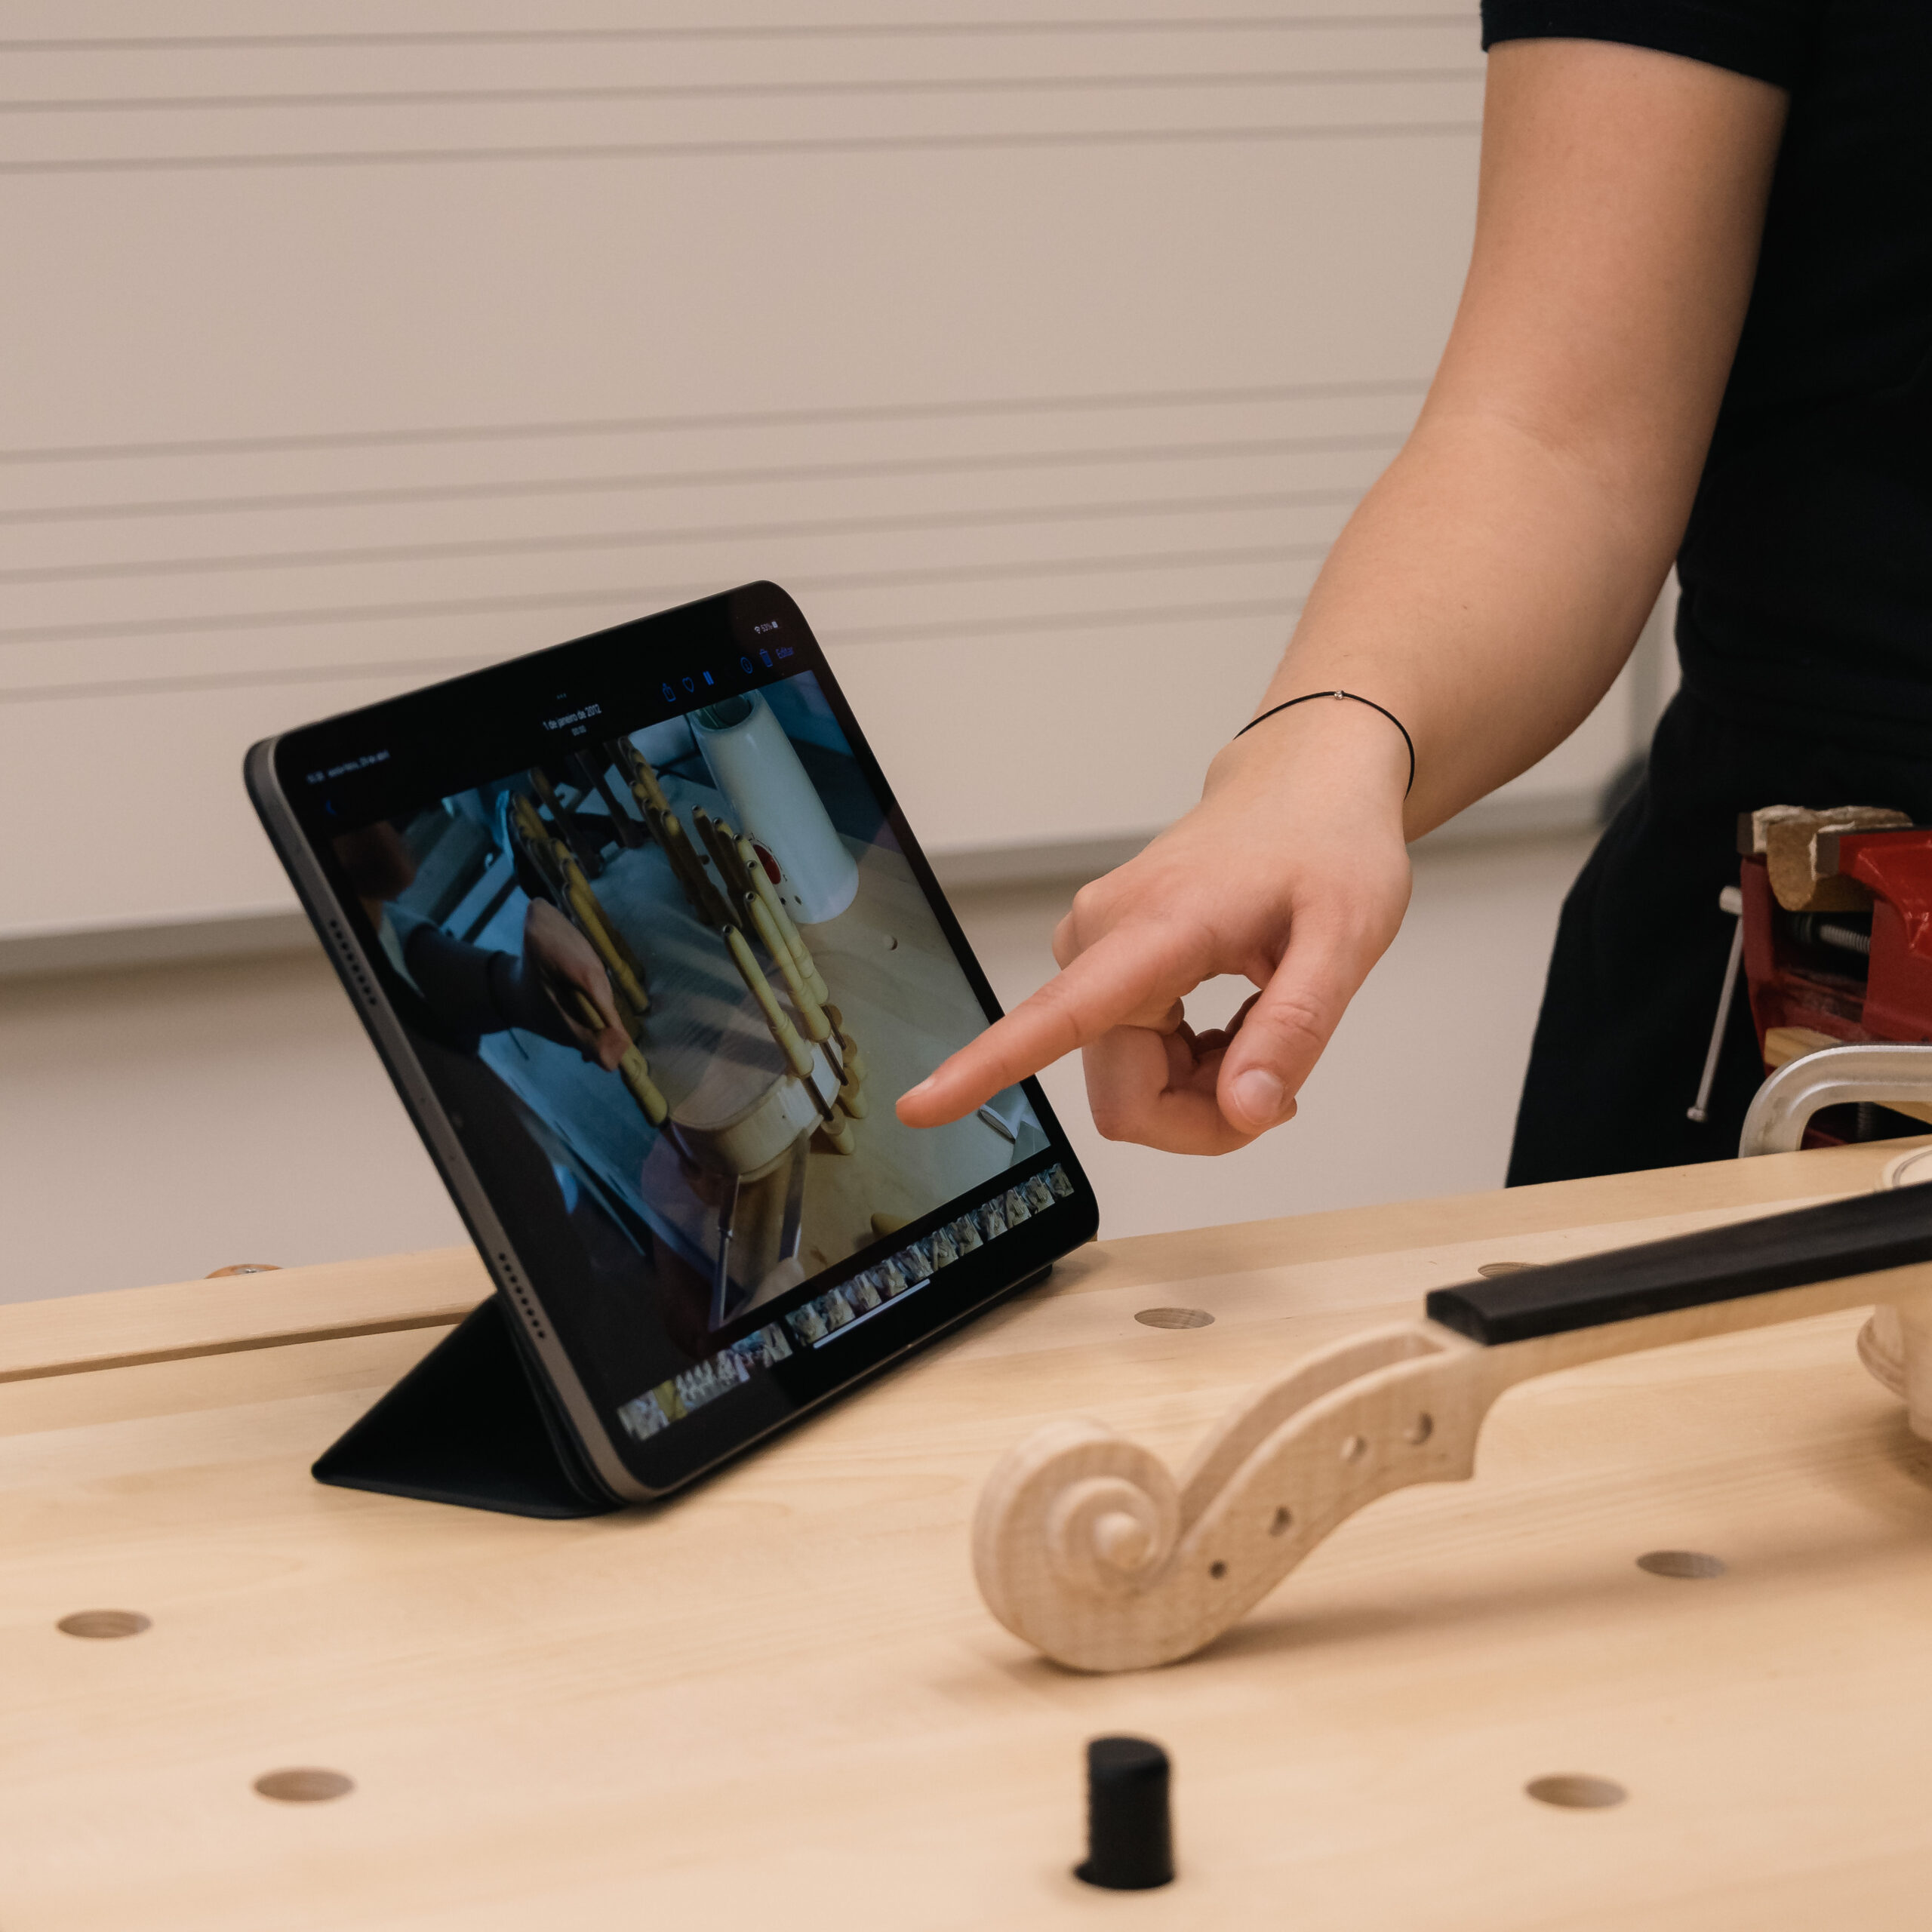
Discovering Lutherie: Making the violin of tomorrow
This workshop is designed for children and youth from 10 years old, with a focus on showcasing the daily work of a luthier in the building a violin. The aim is to promote and sustain the lesser-known art of Lutherie for generations to come.
Catarina Veiga leads the project and partners with music schools and educational institutions that prioritize music in their curriculums. Throughout the six sessions, the academic community is invited to witness the construction process of a violin, as well as its progress and phases. The workshop concludes with a concert, where the instruments take the center stage and are accompanied by commentary on their making.
Discovering Lutherie: Making the violin of tomorrow
This workshop os designed for children and youth between the ages of 12 and 18, with a focus on showcasing the daily work of a luthier in the building of violins. The aim is to promote and sustain the lesser-known art of Lutherie for generations to come.

Catarina Veiga leads the project and partners with music schools and educational institutions that prioritize music in their curriculums. Throughout she six sessions, the academic community is invited to witness the construction process of a violin, as well as its progress and phases. The workshop concludes with a free concert, where the instruments take center stage and are accompanied by commentary on thei construction.
WORKSHOP sessions
- 1 – Moulds, Blocks and Ribs 100%
- 2 – Top and Back 100%
- 3 – Neck, Fingerboard and Assembly 100%
- 4 – Varnish 100%
- 5 – Set-up 100%
- 6 – Concert 100%
WORKSHOP sessions
- 1 – Moulds, Blocks and Ribs 100%
- 2 – Top and Back 100%
- 3 – Neck, Fingerboard and Assembly 100%
- 4 – Varnish 100%
- 5 – Set-up 100%
- 6 – Concert 100%
STEP BY STEP…
Session 1 – Moulds, blocks and ribs
During the initial session, we will discuss the model selection process with the school or the institution responsible for preserving the violin.
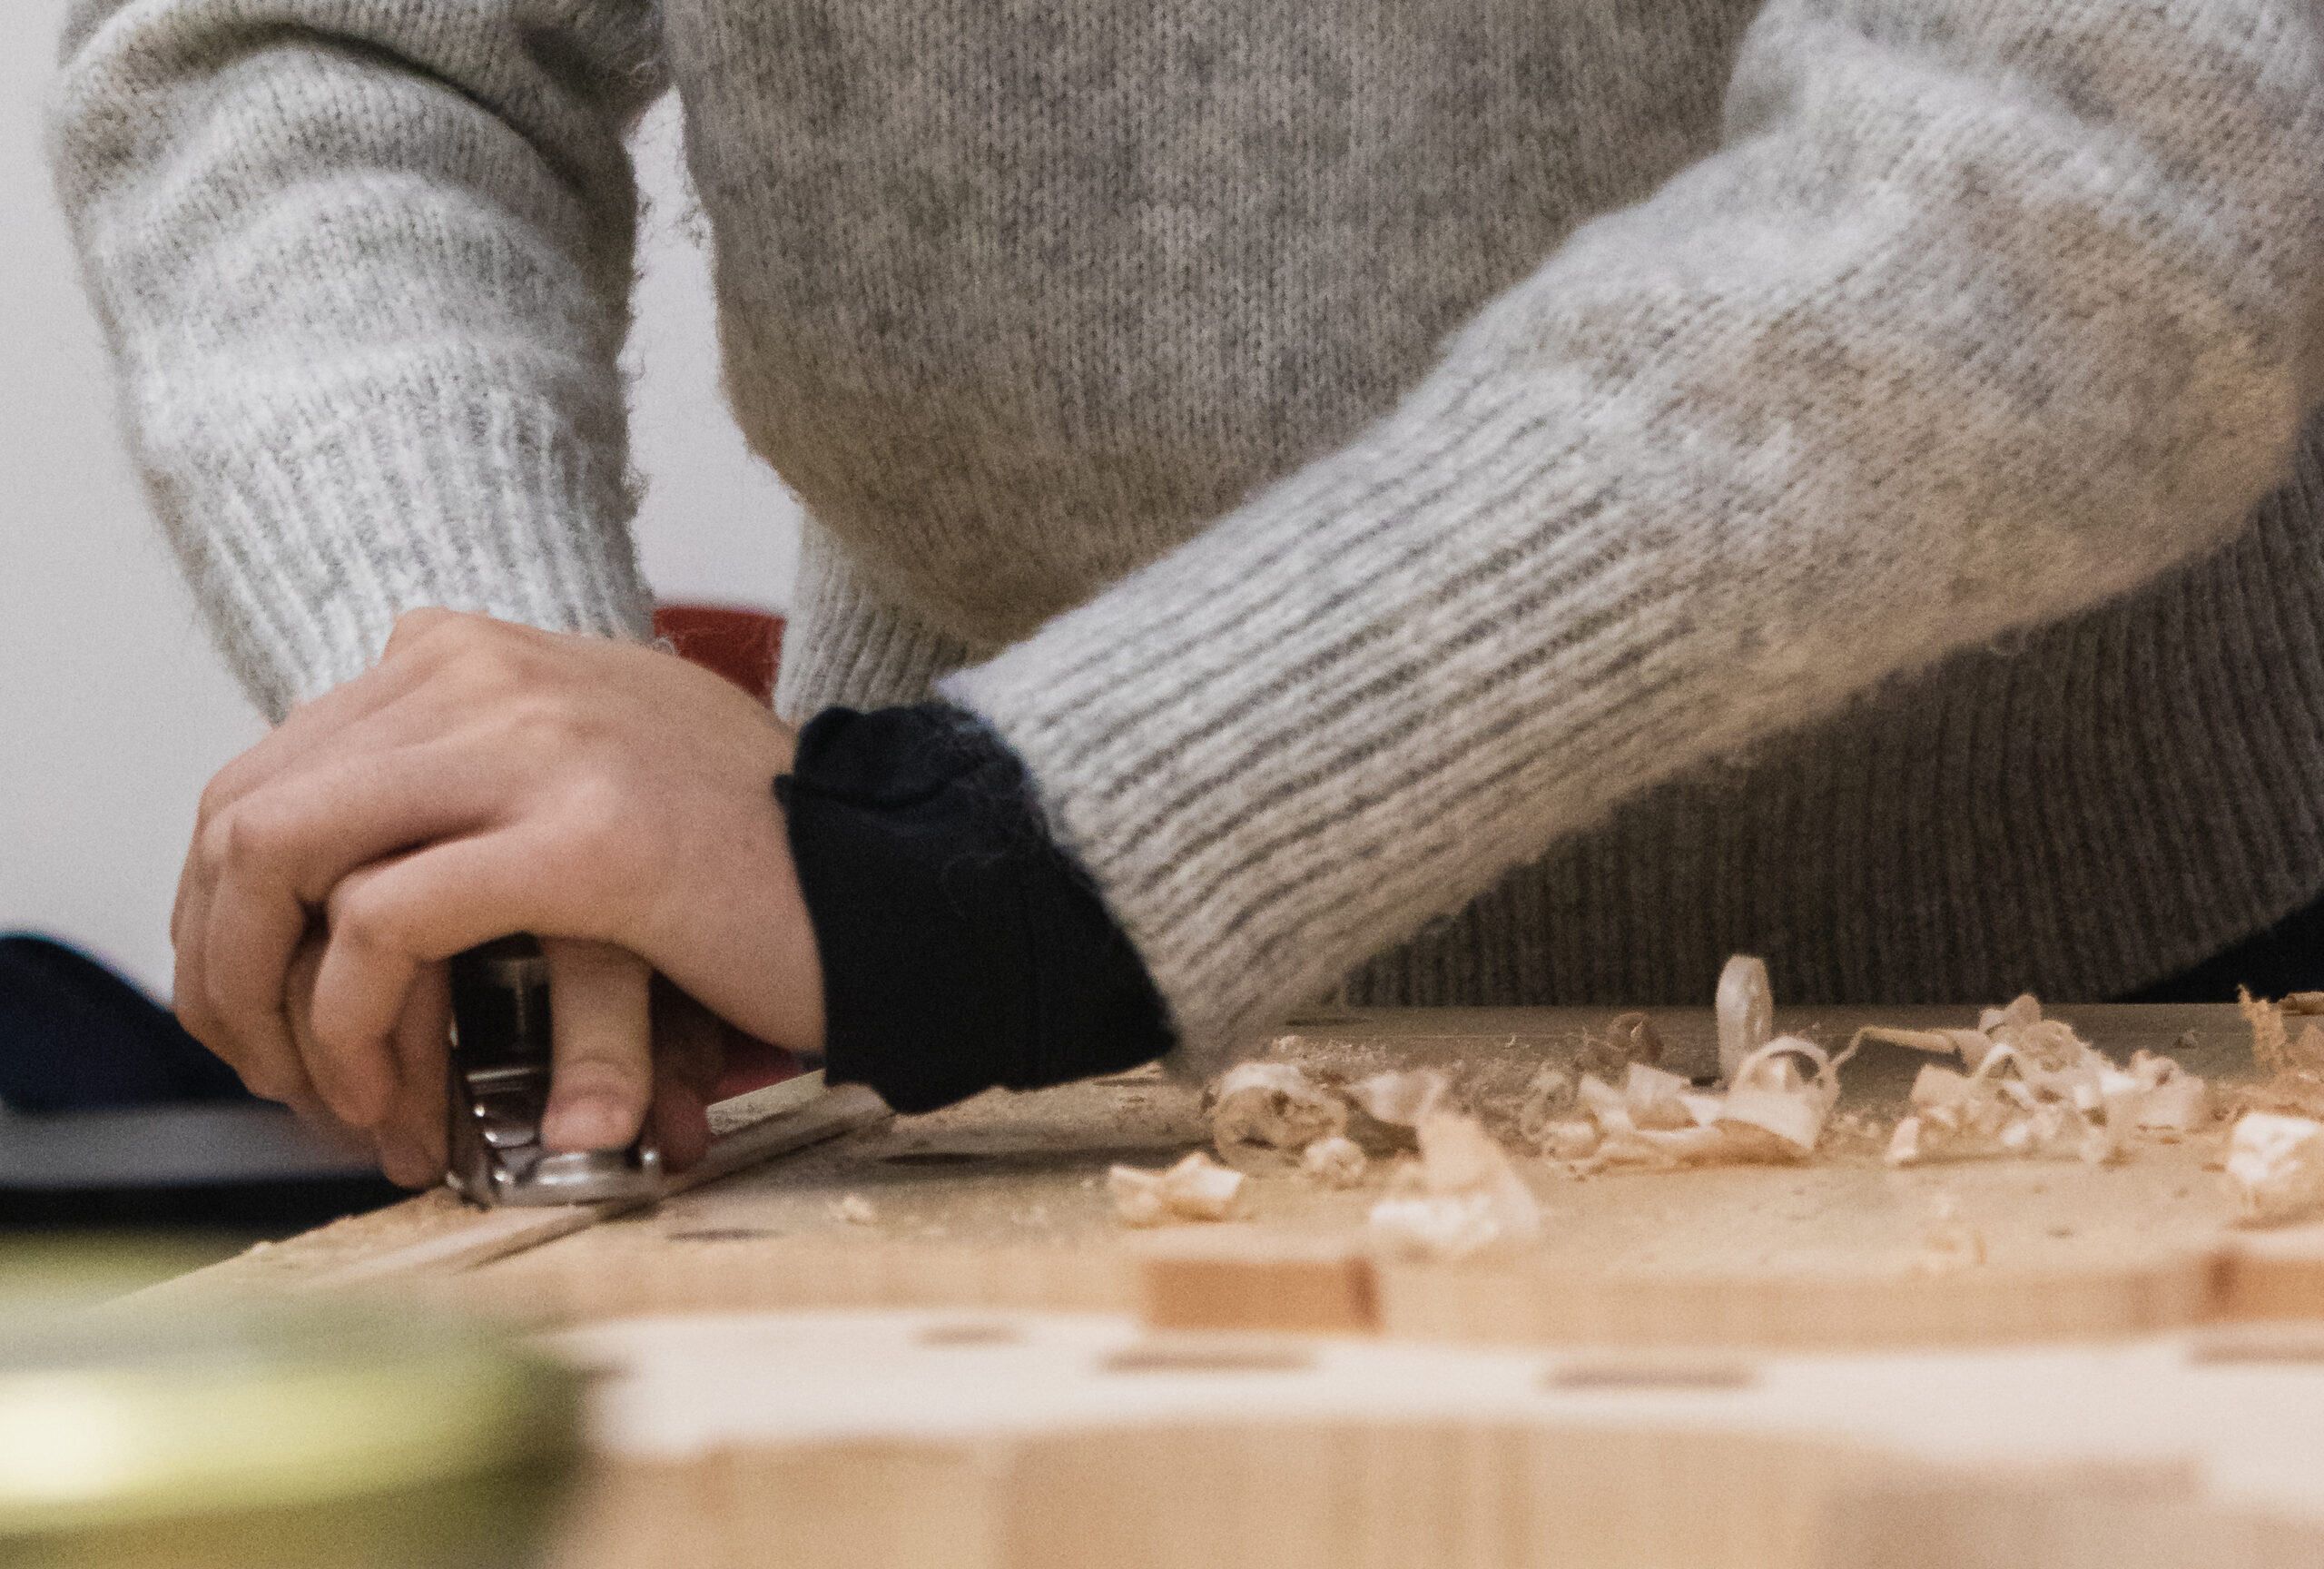
Students will then have the opportunity to gain hands-on experience by working with the wood to prepare blocks and ribs. The blocks serve to strengthen the instrument’s structure, while the ribs are the side components that connect the top and back. It’s crucial to ensure that the ribs are crafted to the proper thickness and curvature for optimal sound quality.
Session 2 – Top and Back
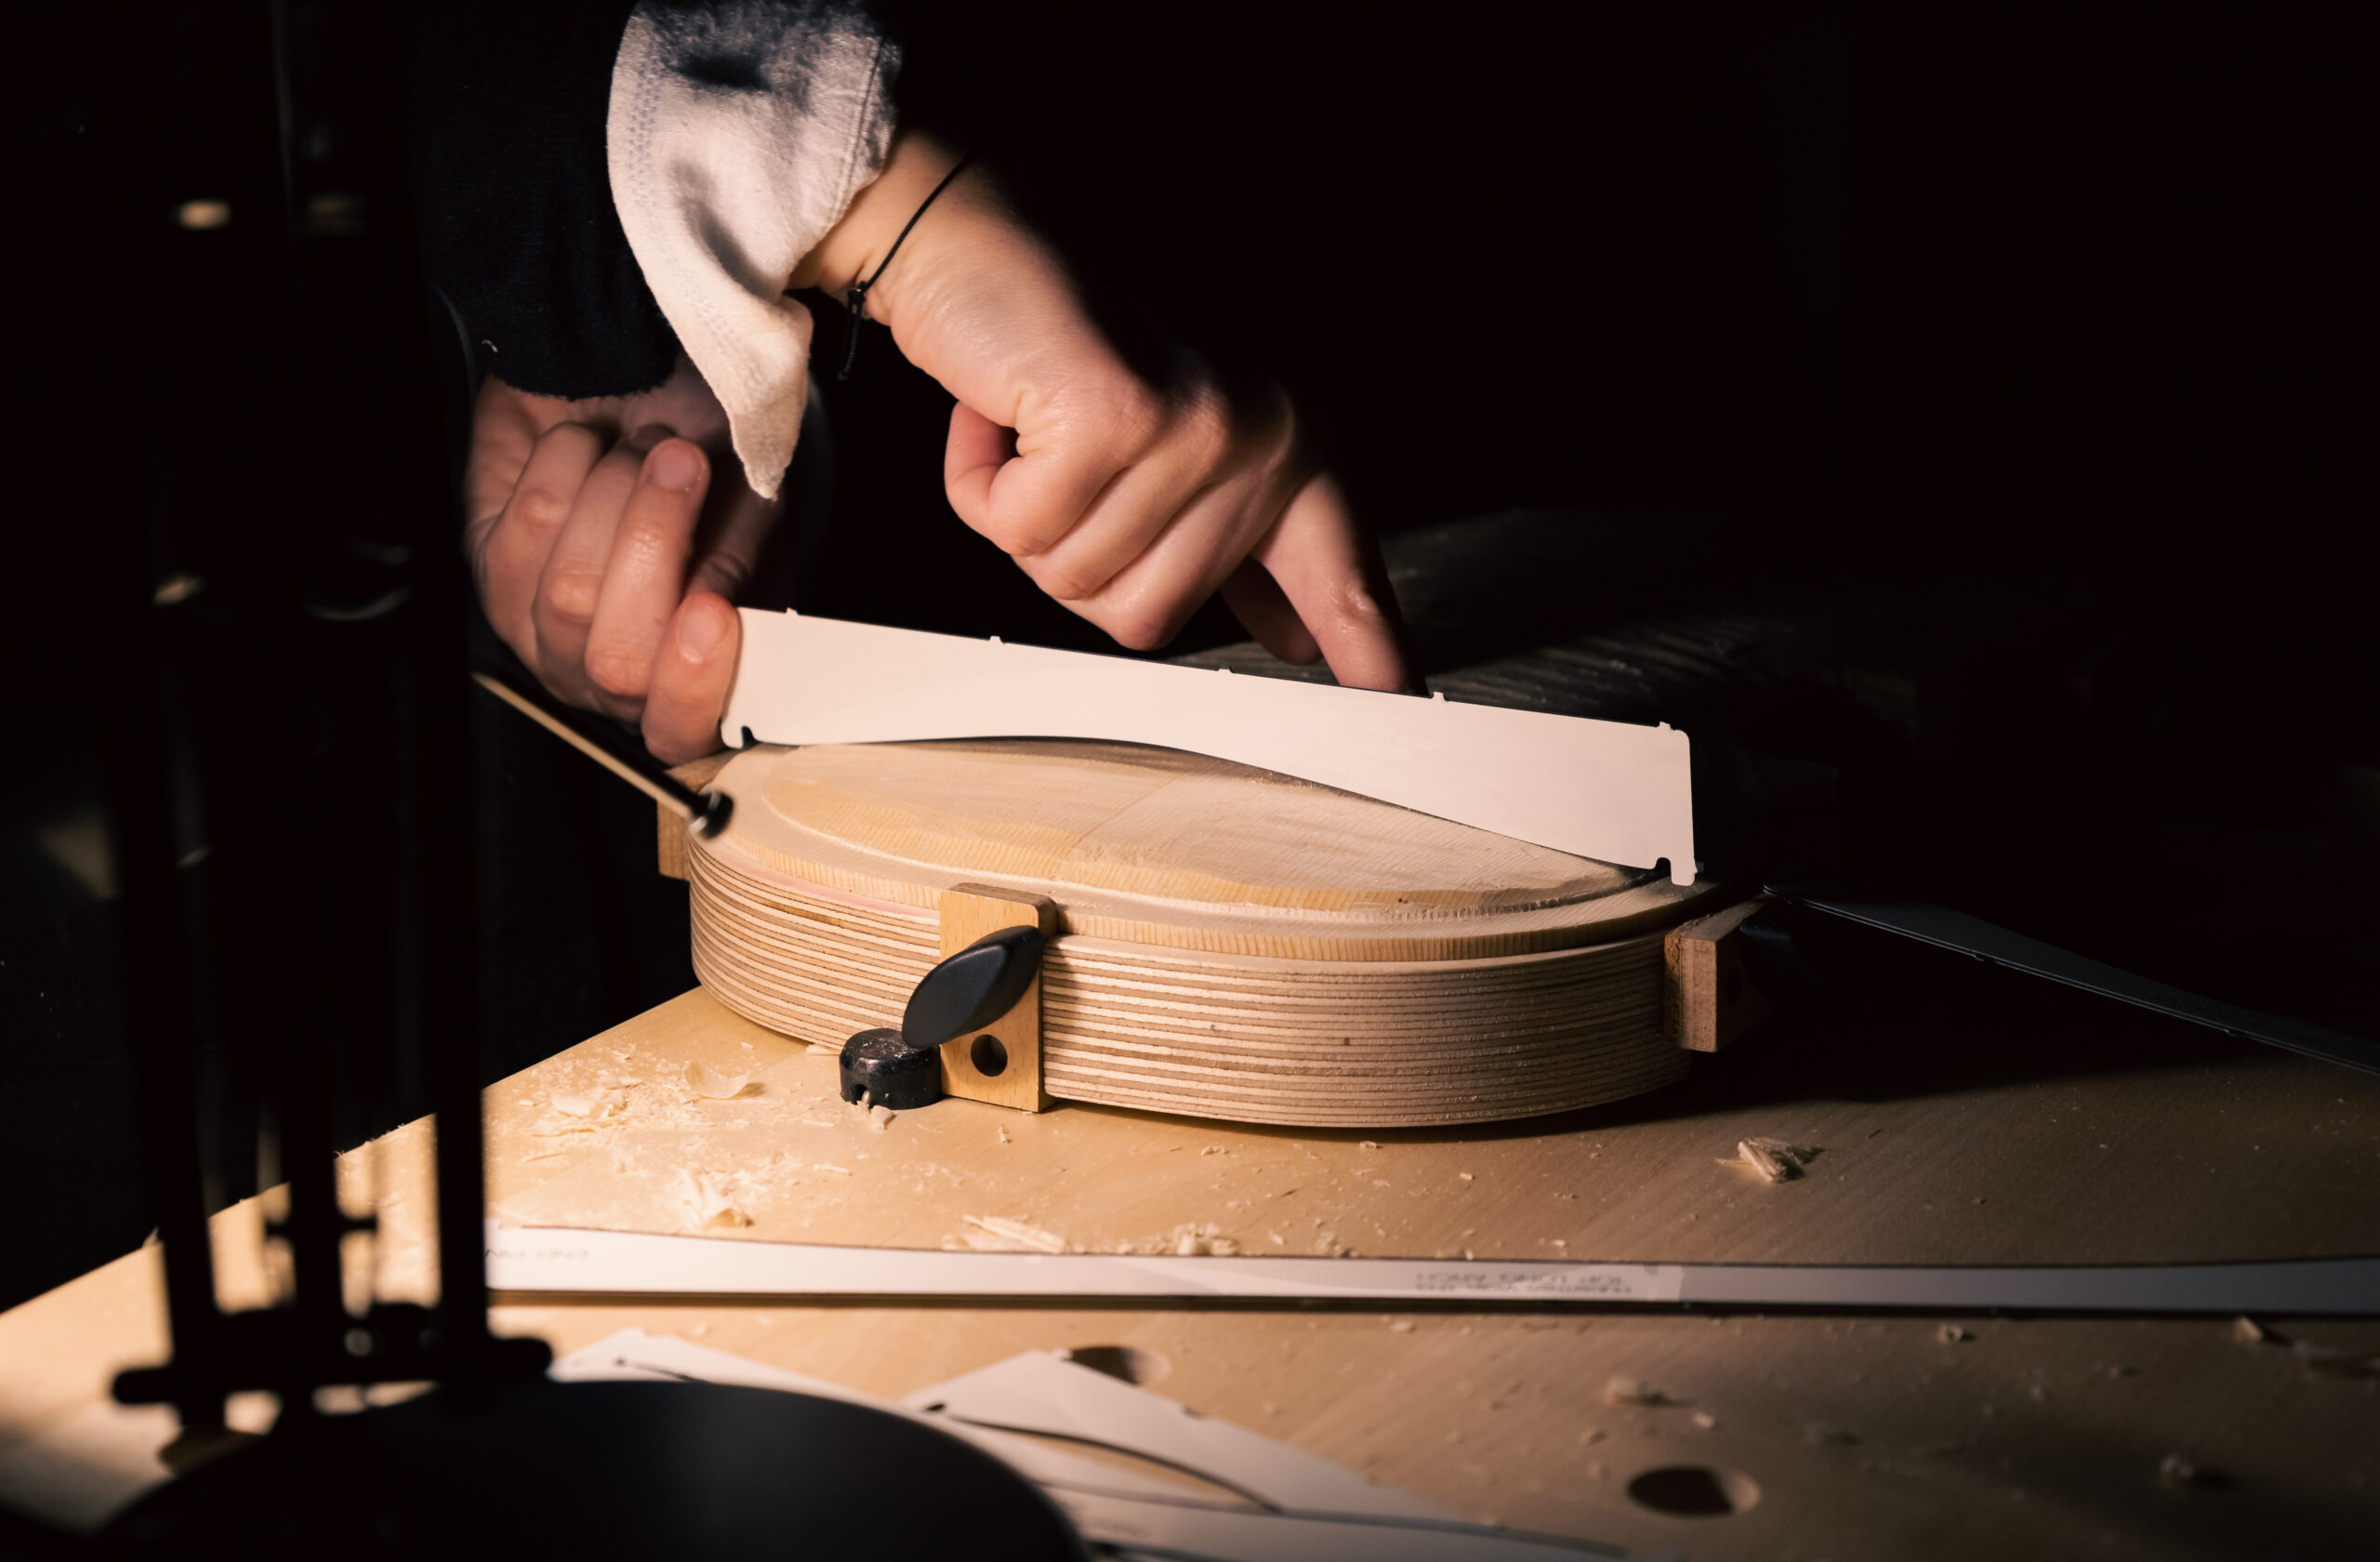
When it comes to creating a violin, the top and back are crucial in determining the final acoustics of the instrument. The type of wood used, the curvature, the thickness, and the finish, all play a role in shaping the violin’s unique sound.
In this session, we will cover various topics such as the materials and tools needed, measurements, the art of the reversible glue, and other interesting tidbits.
Session 3 – Neck, Fingerboard and Assembly
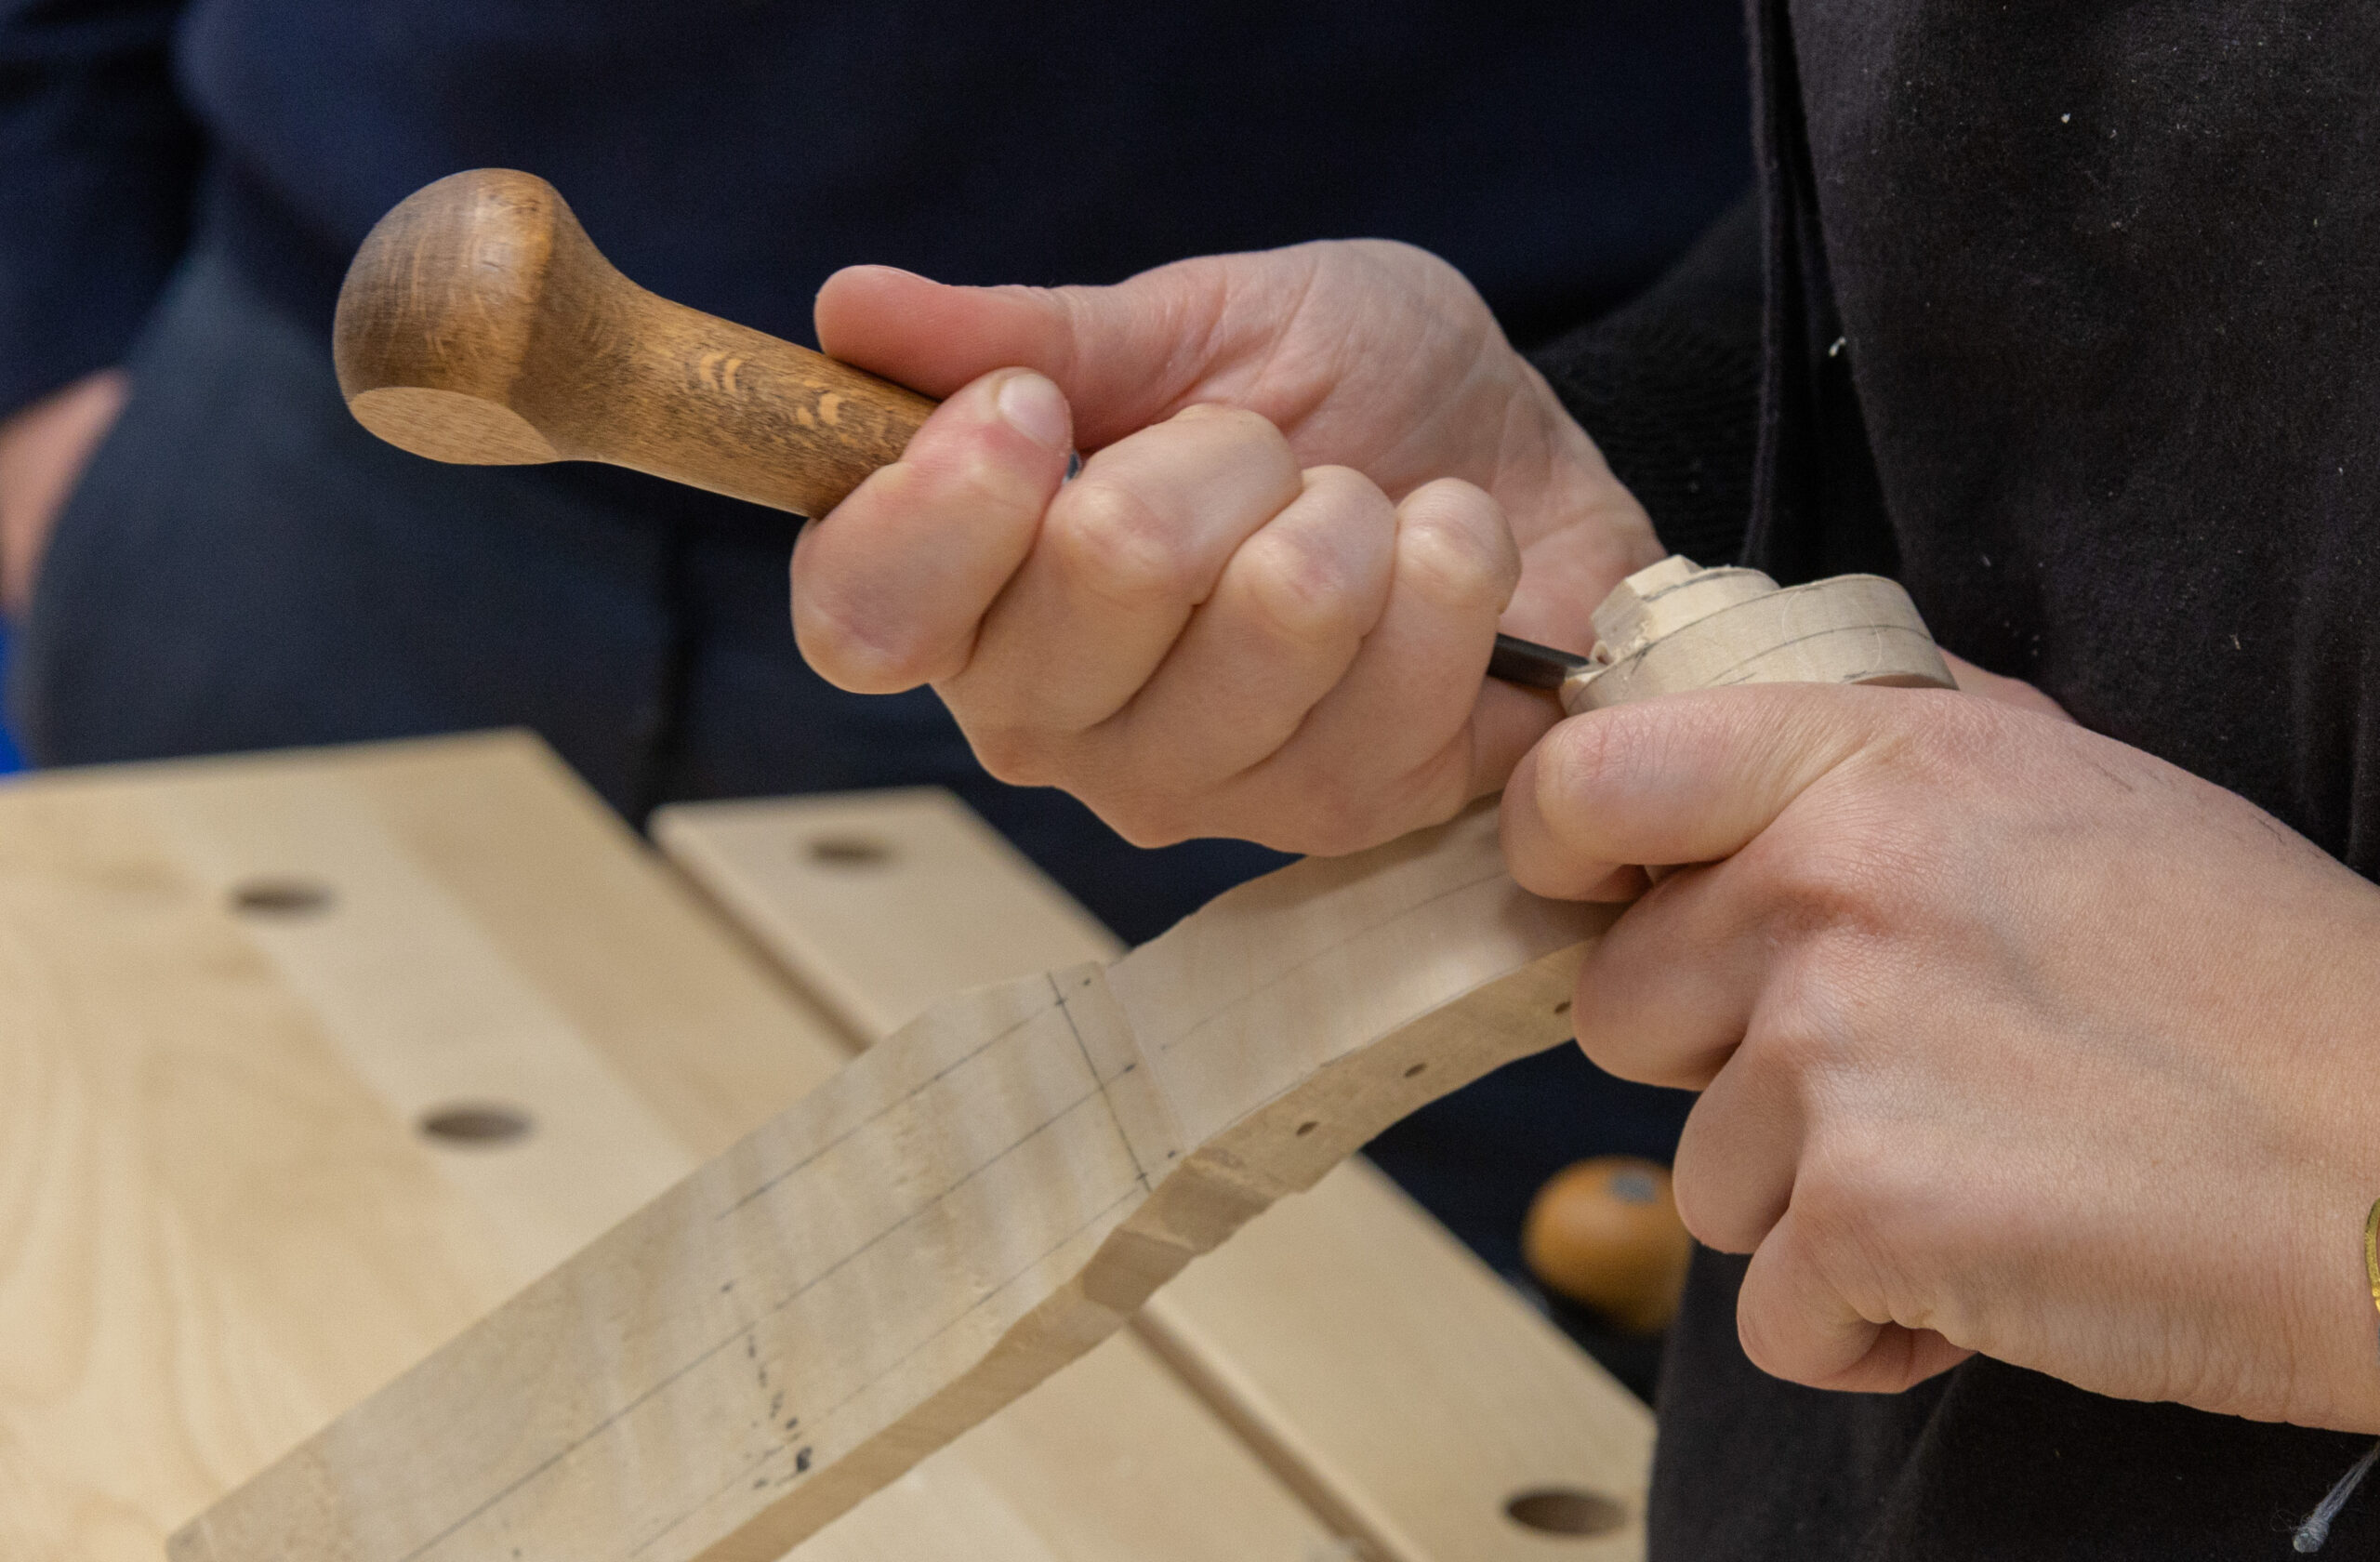
The next step in making a fine instrument involves creating the neck and scroll, using a single block of maple wood. The scroll, which does not affect the sound of the instrument, is where one can truly appreciate the expertise of a skilled luthier. Some instruments even feature animal or human figures in the volute. The neck must also be designed for comfort, allowing the musician to fully unleash the potential of their instrument.
Once the neck and scroll are complete, they must be carefully fitted to the instrument’s body, taking exact measurements into consideration. The fingerboard, upper and lower nut are also meticulously crafted at this stage.
Session 4 – Varnish
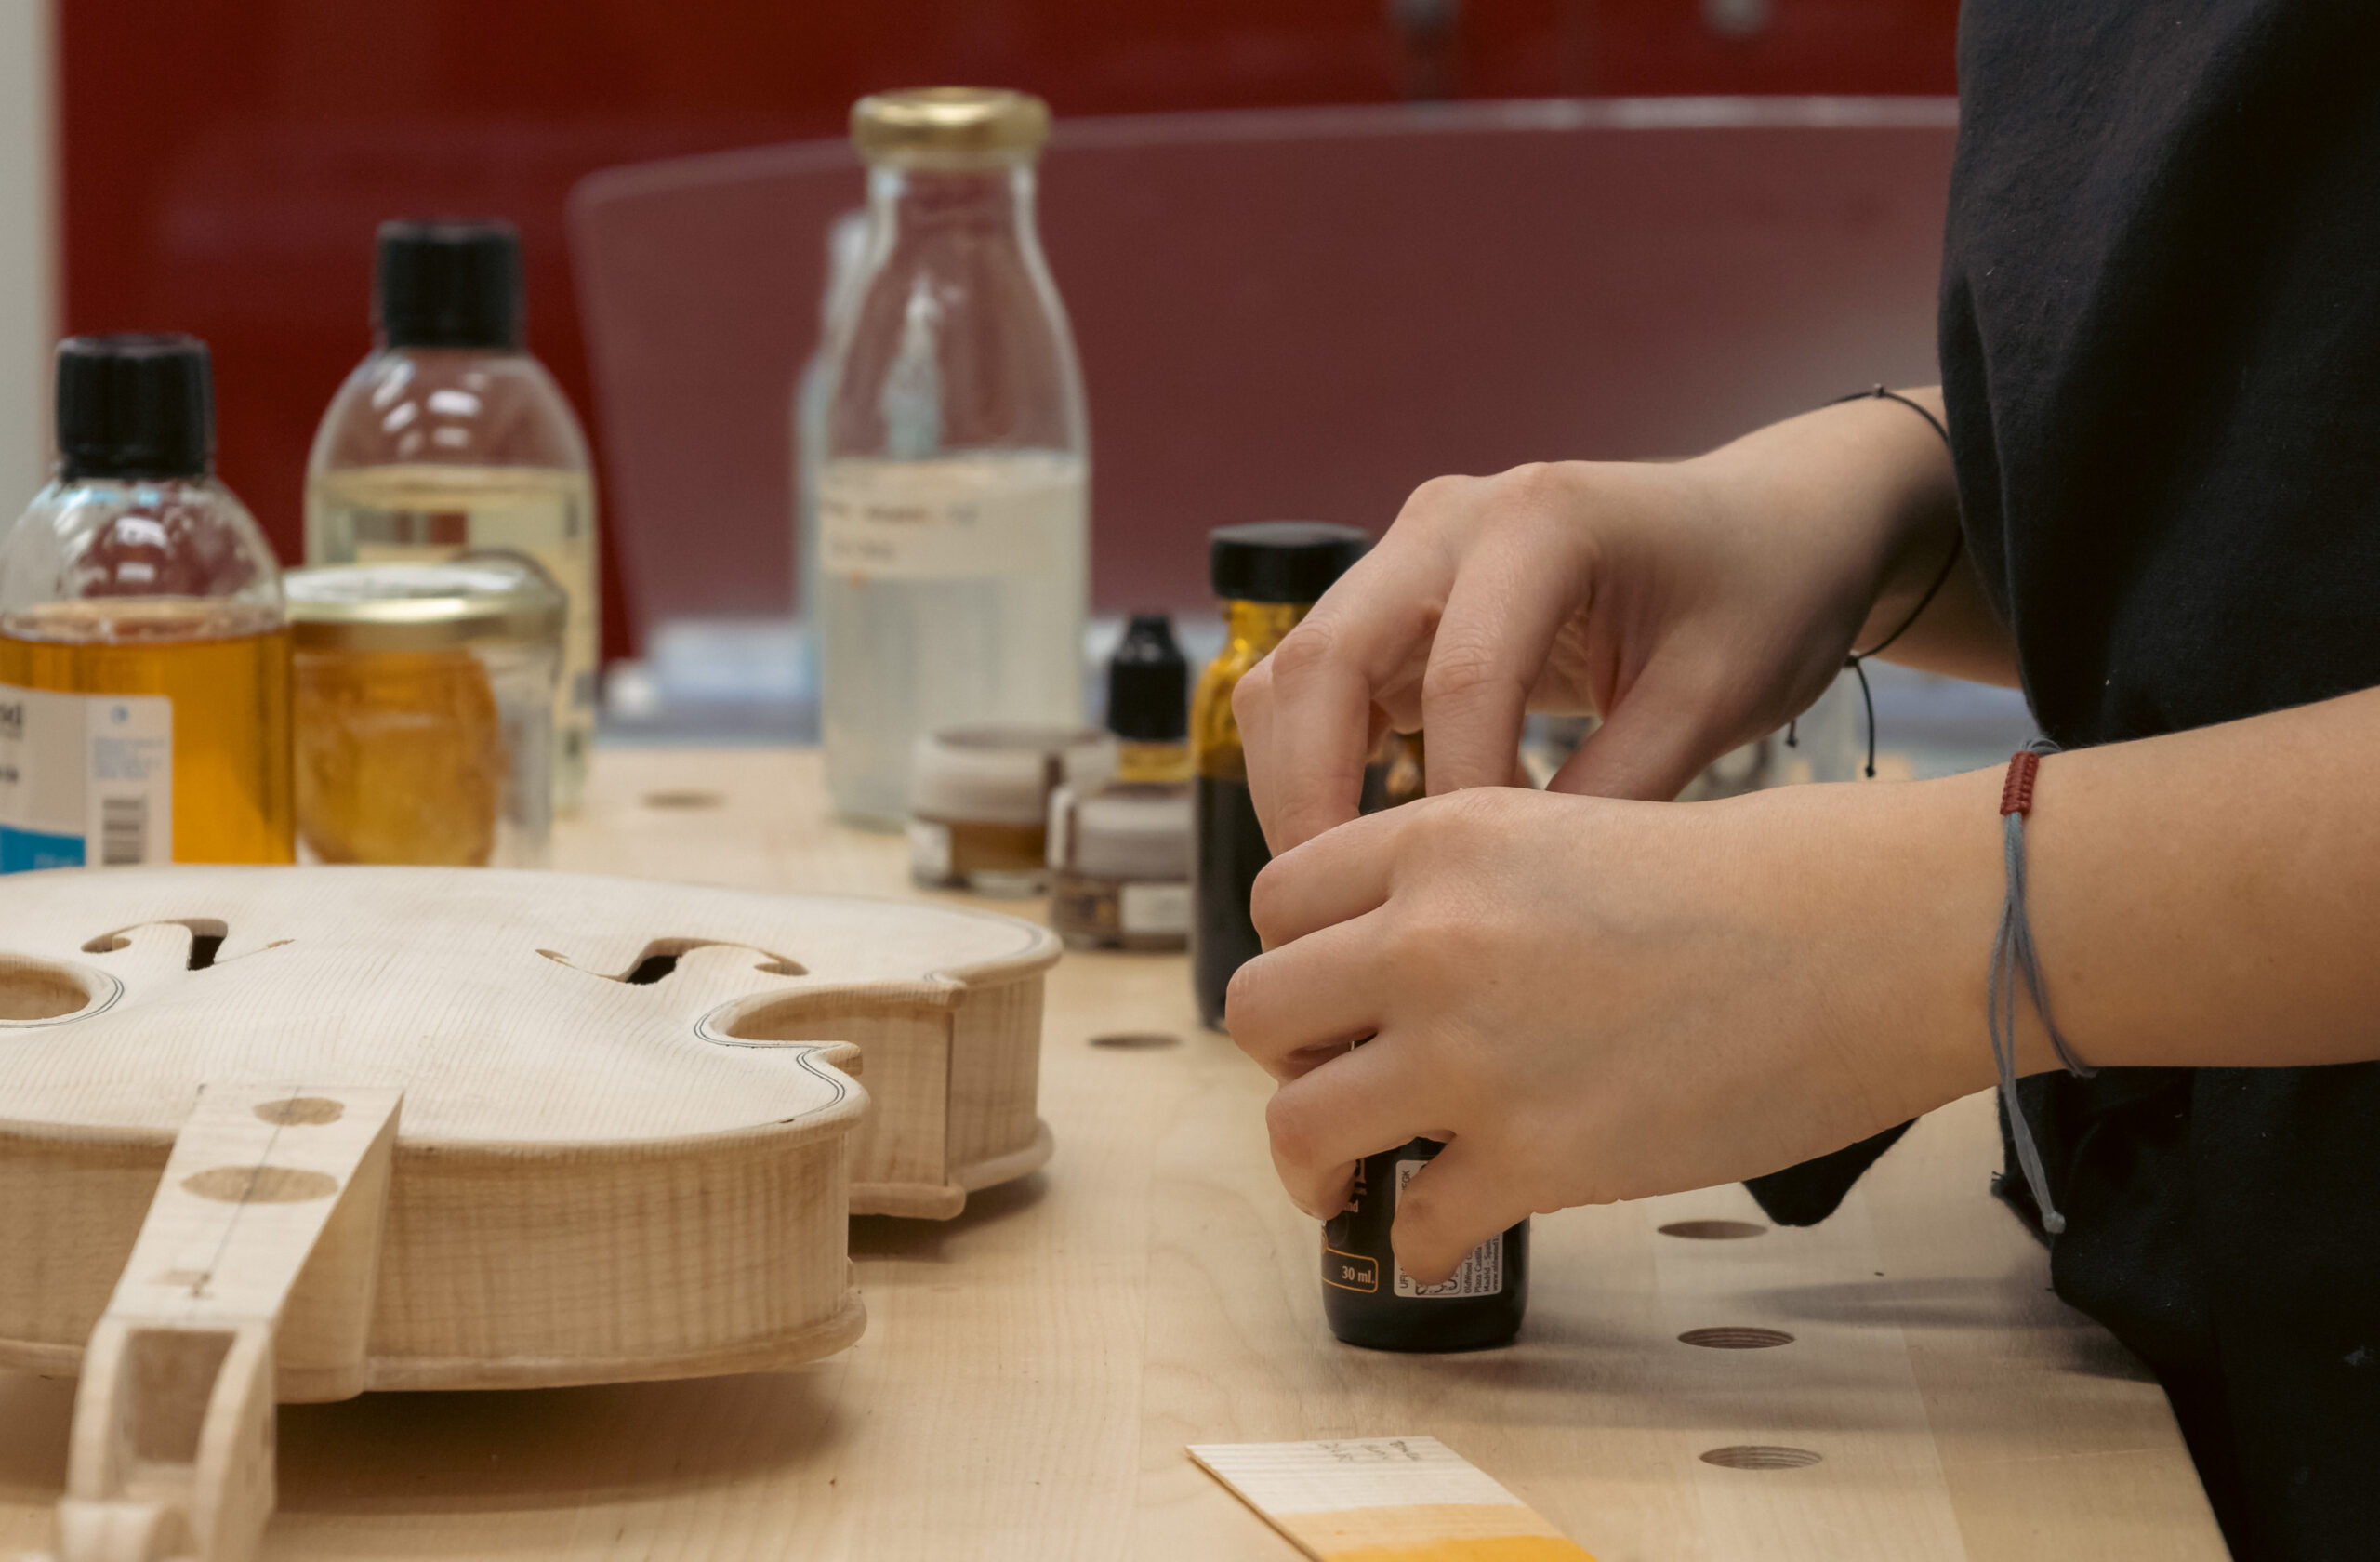
Once the protective layers of wood and ground have been applied (a combination of resins and oils), it’s time to begin the varnishing process. The instrument’s color can come from natural pigments mixed into the varnish or from oil paints with compositions that mesh well with the varnish and allow the instrument to vibrate.
The oil varnish dries by exposure to ultraviolet rays from the sun or from a cabinet equipped with such lights.
Session 5 – Set-up
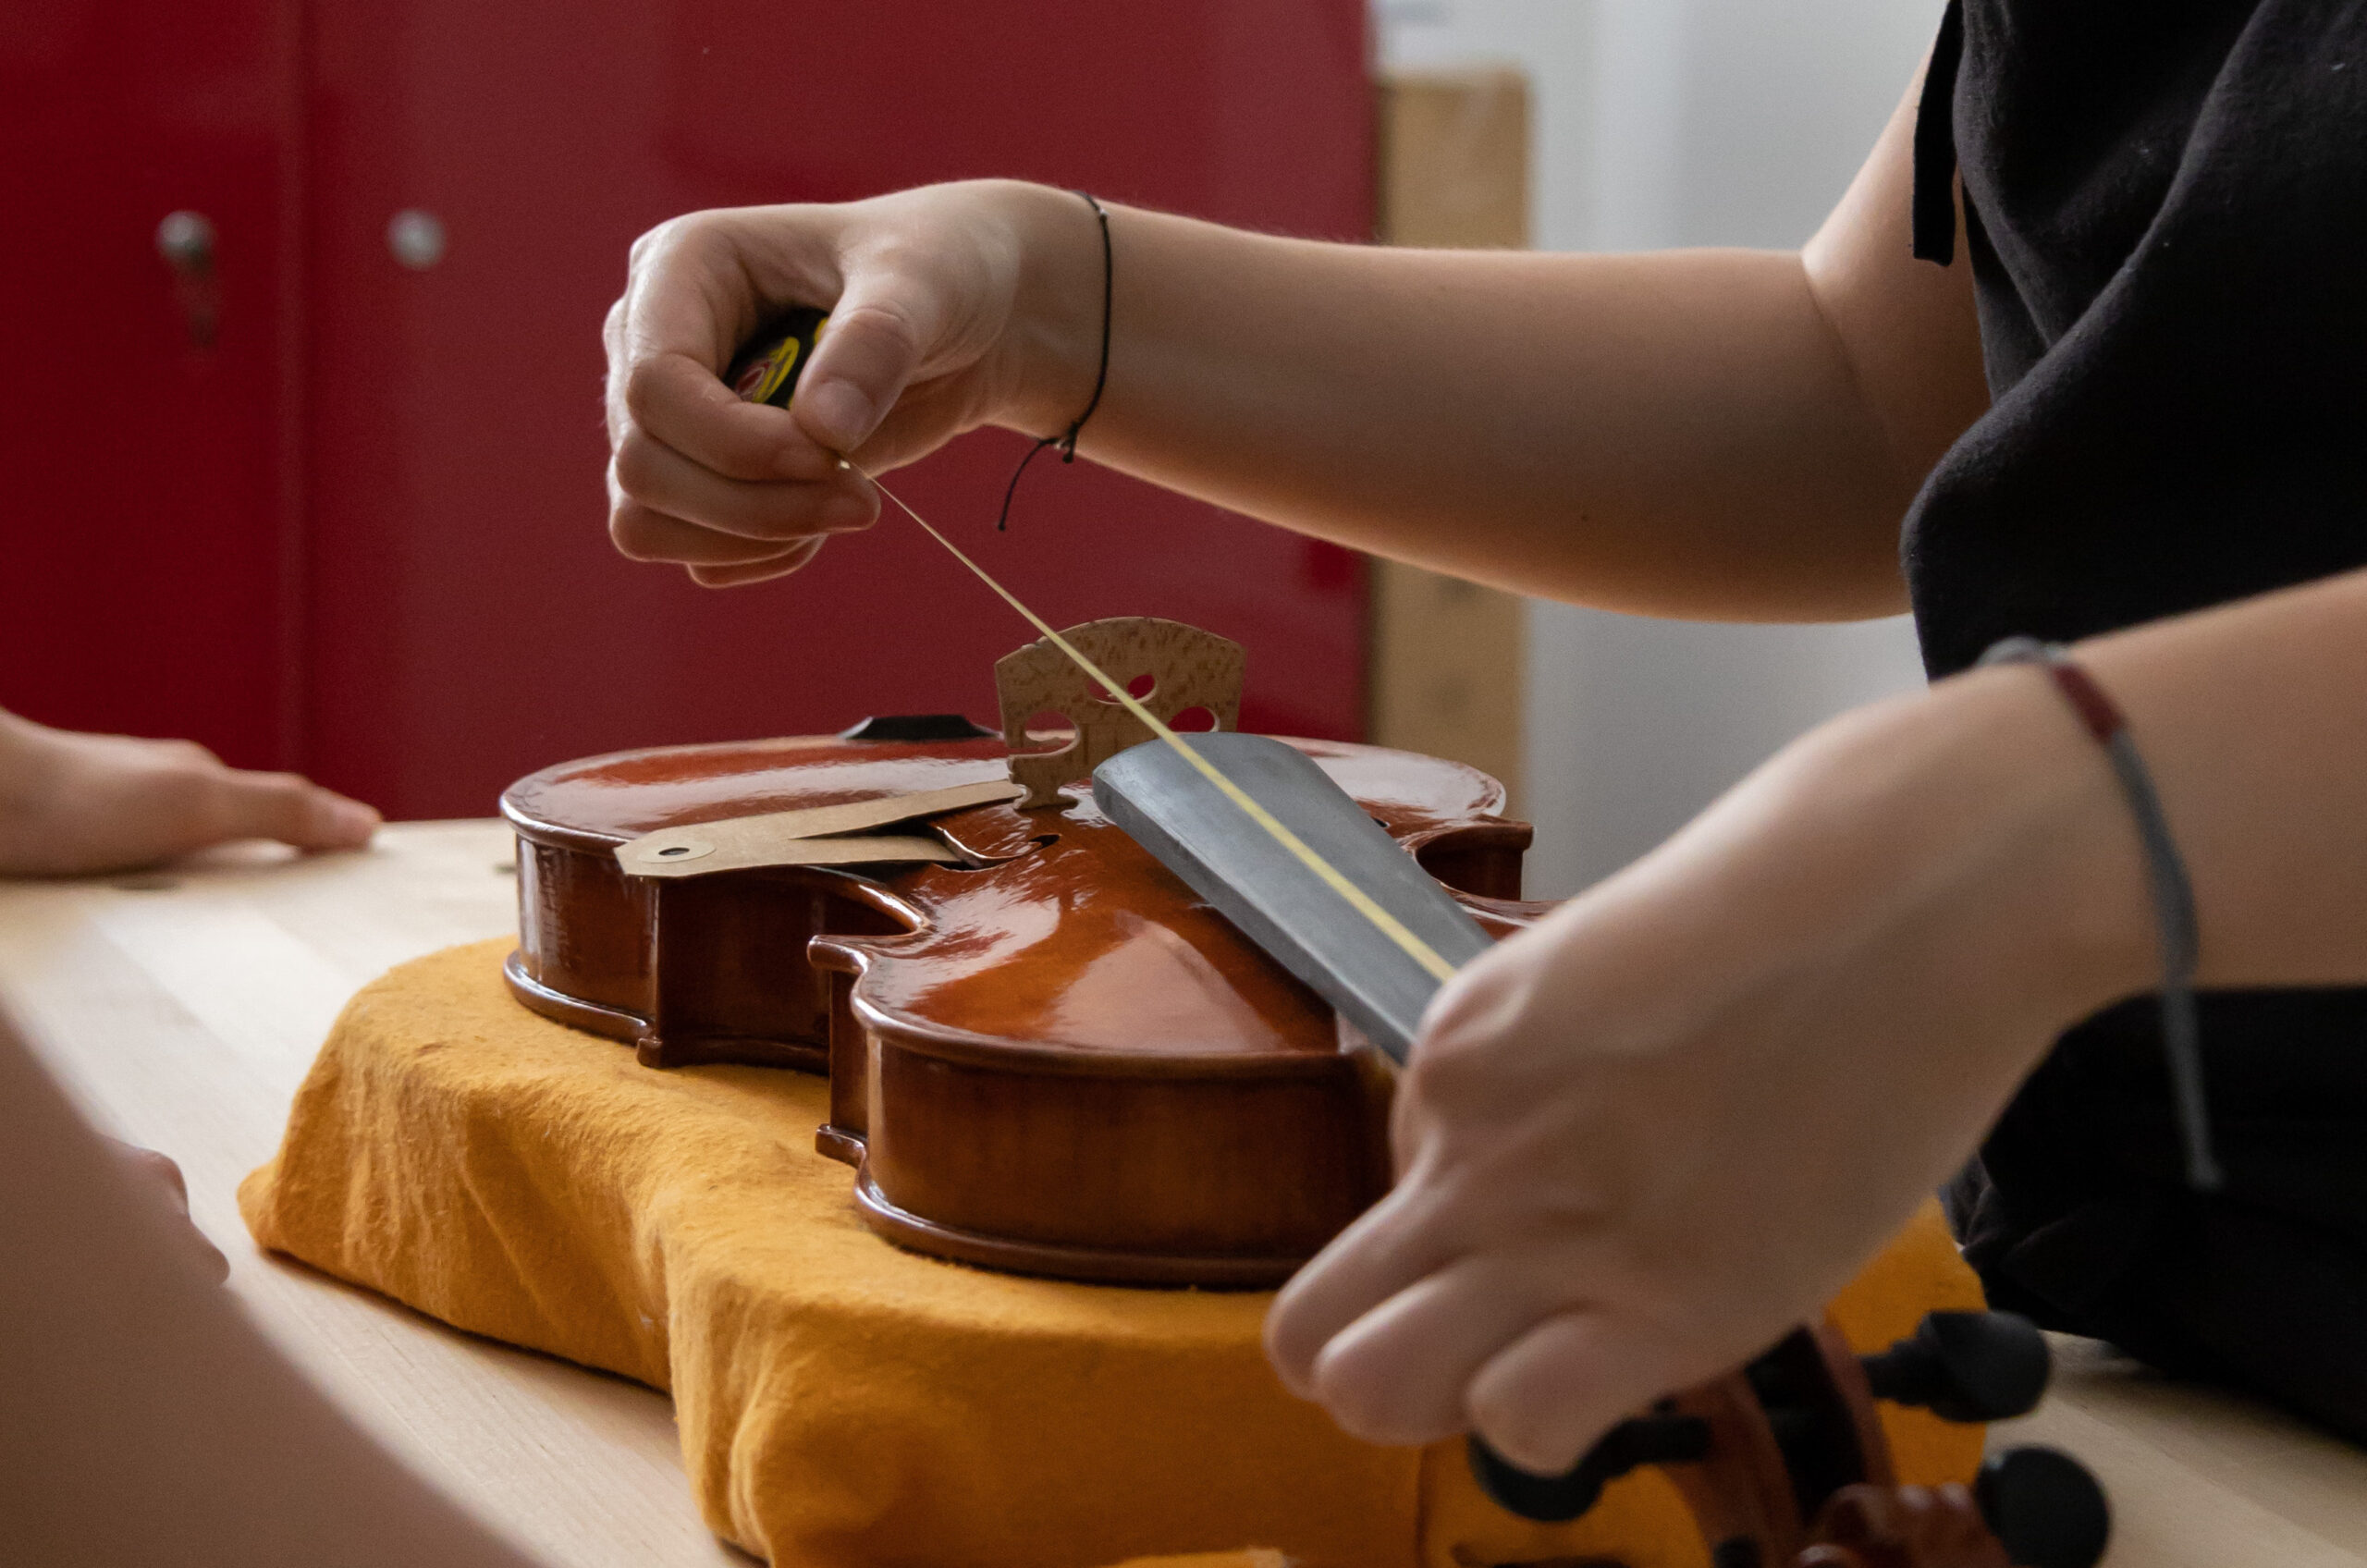
Once the varnish has dried, it’s time to set-up the violin. This involves crafting the bridge, soundpost, and pegs, as well as re-gluing the fingerboard and upper nut (which were removed before the varnishing process).
Afterwards, adjustments are made according to the musician’s preferences. Students will have the chance to experiment with the impact of minor differences on sound level. For instance, they may test a bridge with correct measurements versus a lower one to understand the importance of details in the final result.
Session 6 – Concert
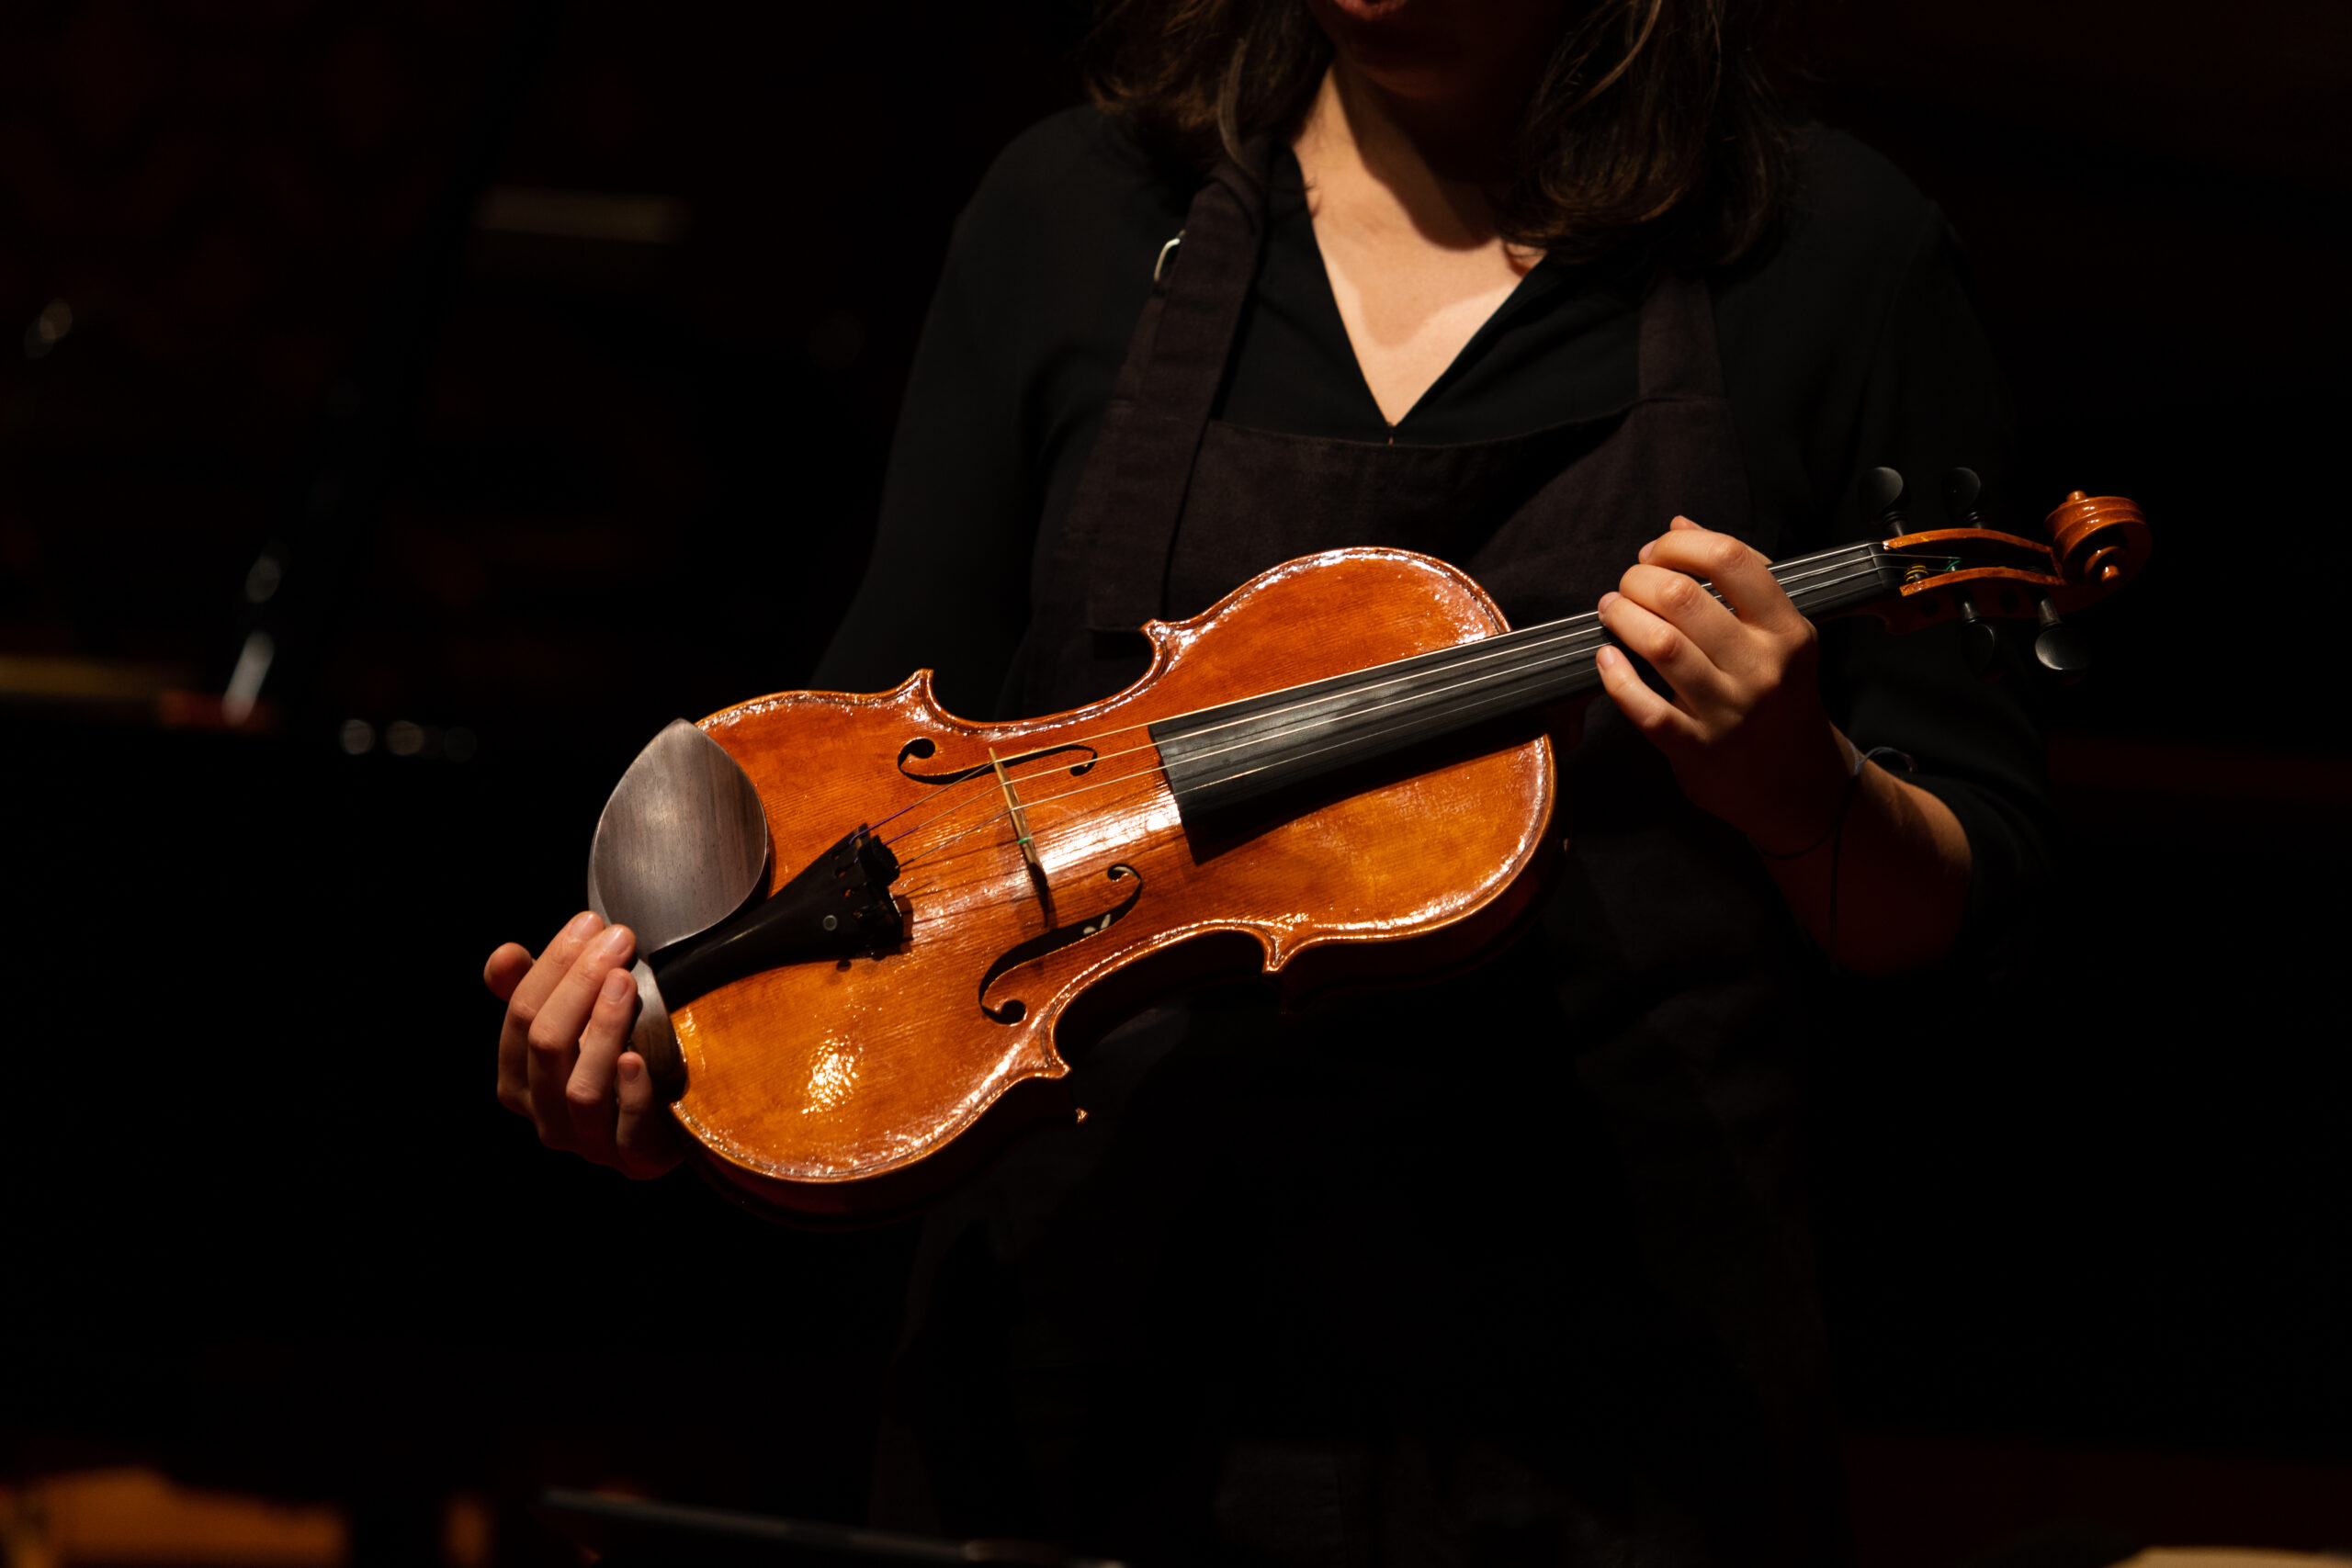
The final session will showcase a commented concert with guest musicians performing various pieces on the violin. This concert will delve deeper into the process of instrument making and how it can significantly impact the sound quality by adapting it to the musician.
STEP BY STEP…

Session 1 – Moulds, blocks and ribs
During the initial session, we will discuss the model selection process with the school or institution responsible for preserving the violin.
Students will then have the opportunity to gain hands-on experience by working with the wood to prepare blocks and ribs. The blocks serve to strengthen the instrument’s structure, while the ribs are the side components that connect the top and back. It’s crucial to ensure that the ribs are crafted to the proper thickness and curvature for optimal sound quality.

Session 2 – Top and Back
When it comes to making a violin, the top and back are crucial in determining the final acoustics of the instrument. The type of wood used, the curvature, the thickness, and the finish all play a role in shaping the violin’s unique sound.
In this session, we will cover various topics such as the materials and tools needed, measurements, the art of reversible glue, and other interesting tidbits.

Session 3 – Neck, Fingerboard and Assembly
The next step in crafting a fine instrument involves creating the neck and scroll, using a single block of maple wood. The scroll, which does not affect the sound of the instrument, is where one can truly appreciate the expertise of a skilled luthier. Some instruments even feature animal or human figures on the scroll. The neck must also be designed for comfort, allowing the musician to fully unleash the potential of their instrument.
Once the neck and scroll are complete, they must be carefully fitted to the instrument’s body, taking exact measurements into consideration. The fingerboard, upper and lower nut are also meticulously crafted at this stage.

Session 4 – Varnish
Once the protective layers of wood and ground have been applied (a combination of resins and mineral oils), it’s time to begin the varnishing process. The instrument’s color can come from nether natural pigments mixed into the varnish or from oil paints with compositions that mesh well with the varnish and allow the instrument to vibrate.
The varnish dries by exposure to ultraviolet rays from the sun or from a cabinet equipped with such lights.

Session 5 – Set-up
After the varnish has dried, it’s time to make the set-up of the violin. This involves making the bridge, soundpost, and pegs, as well as re-gluing the fingerboard and upper nut (which were removed before the varnishing phase). Afterwards, adjustments are made according to the musician’s preferences.
Students will have the chance to experiment with the impact of minor differences on sound level. For instance, they may test a bridge with correct measurements versus a lower one to understand the importance of details in the final result.

Session 6 – Concert
The final session will showcase a commented concert with guest musicians performing various pieces with the violin. This concert will delve deeper in the process of instrument making and how it can significantly impact the sound quality by adapting it to the musician.